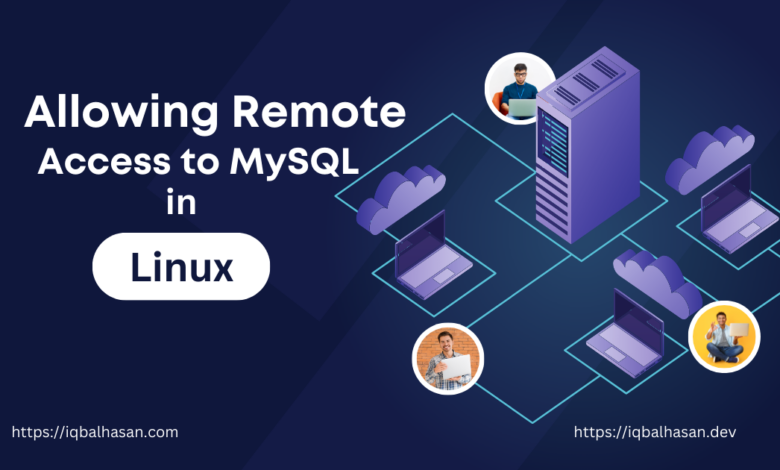
MySQL is one of the most popular open-source relational database management systems, known for its reliability, scalability, and performance. By default, MySQL is configured to accept connections only from the localhost, which means it can only be accessed from the same machine where it’s installed. However, there are scenarios where you may need to allow remote access to MySQL, such as connecting to the database from a different server or enabling access for a remote application. In this blog post, we’ll walk you through the steps to safely and securely allow remote access to MySQL.
Before we begin, please note that enabling remote access should be done with caution and security in mind. Exposing your MySQL server to the internet can pose security risks if not properly configured. Follow these steps carefully and consider implementing additional security measures like firewalls and user access controls.
Step 1: Backup Your Database
Before making any changes to your MySQL server configuration, it’s crucial to back up your database to prevent data loss in case something goes wrong. Use the mysqldump command to create a backup of your database:
mysqldump -u username -p dbname > dbname_backup.sqlReplace username with your MySQL username and dbname with the name of your database. You’ll be prompted to enter your MySQL password.
Step 2: Configure MySQL for Remote Access
Edit MySQL Configuration File: MySQL’s configuration file is usually located at /etc/mysql/mysql.conf.d/mysqld.cnf on Linux systems. Open this file in a text editor with administrative privileges.
Find and Modify the bind-address: Locate the bind-address parameter in the configuration file. By default, it’s set to 127.0.0.1, which allows connections only from the localhost. Change this to the IP address of your server or set it to 0.0.0.0 to allow connections from any IP address. Be cautious with this setting, as it can make your MySQL server accessible from anywhere.
bind-address = 0.0.0.0 Save and Close the Configuration File: After making the necessary changes, save the file and close the text editor.
Restart MySQL: To apply the changes, restart the MySQL server:
sudo systemctl restart mysql # On LinuxStep 3: Create Remote MySQL User
You should create a dedicated MySQL user for remote access. This user should have limited privileges to ensure security.
Log into MySQL: Access the MySQL command-line interface with the following command:
mysql -u root -pReplace root with your MySQL username and enter your password when prompted.
Create a New User: Replace username and password with your desired username and password:
CREATE USER 'username'@'%' IDENTIFIED BY 'password';This command creates a user that can connect from any host (‘%’). However, you can replace ‘%’ with a specific IP address if you want to restrict access to certain hosts.
Grant Privileges: Grant the necessary privileges to your remote user. For example, to grant full access to a database named dbname:
GRANT ALL PRIVILEGES ON dbname.* TO 'username'@'%';Flush Privileges: To apply the changes and refresh MySQL’s privilege table, run:
FLUSH PRIVILEGES;Step 4: Configure Firewall Rules
If you’re running a firewall on your server, you’ll need to allow incoming connections to MySQL’s port (default is 3306). The specific method to configure firewall rules depends on your server’s operating system and firewall software.
For example, on a Linux server using ufw, you can allow MySQL traffic with:
sudo ufw allow 3306/tcpStep 5: Test Remote Connection
To ensure that remote access is working, try connecting to your MySQL server from a remote machine. Use the following command on the remote machine:
mysql -h your_server_ip -u username -pReplace your_server_ip with your server’s IP address, username with the MySQL username you created, and you’ll be prompted to enter the password.
Check Your Local IP Address:
Using the hostname Command:
You can use the hostname command to display your server’s hostname and IP address:
hostname -IThis will show the IP address(es) associated with your server’s hostname. Output like:
192.168.1.66 #This is your ip addressN.B: If you see multiple IP addresses in the output, the first one listed is typically your local IP address.
192.168.1.66 172.17.0.1 172.18.0.1 10.244.159.1 #First one is your ip address Using the ip Command:
Open a terminal window and enter the following command to display your server’s IP address:
ip a
Look for the IP address under the network interface you are using (e.g., “eth0” or “wlan0”).
Output:
1: lo: <LOOPBACK,UP,LOWER_UP> mtu 65536 qdisc noqueue state UNKNOWN group default qlen 1000
     inet 127.0.0.1/8 scope host lo
        valid_lft forever preferred_lft forever
6: eth0: <BROADCAST,MULTICAST,UP,LOWER_UP> mtu 1500 qdisc pfifo_fast state UP group default qlen 1000
     inet 192.168.1.66/24 brd 192.168.1.255 scope global dynamic eth0
        valid_lft 60014sec preferred_lft 60014sec
In this example, the server’s IP address is 192.168.1.66, which is listed under the eth0 interface.
Conclusion
Allowing remote access to MySQL can be a useful feature when you need to connect to your database from different locations or applications. However, it should be done cautiously, taking into account security considerations. Follow the steps outlined in this guide, and always implement additional security measures such as strong passwords, firewall rules, and user access controls to safeguard your MySQL server from unauthorized access.
Happy Coding 😉


